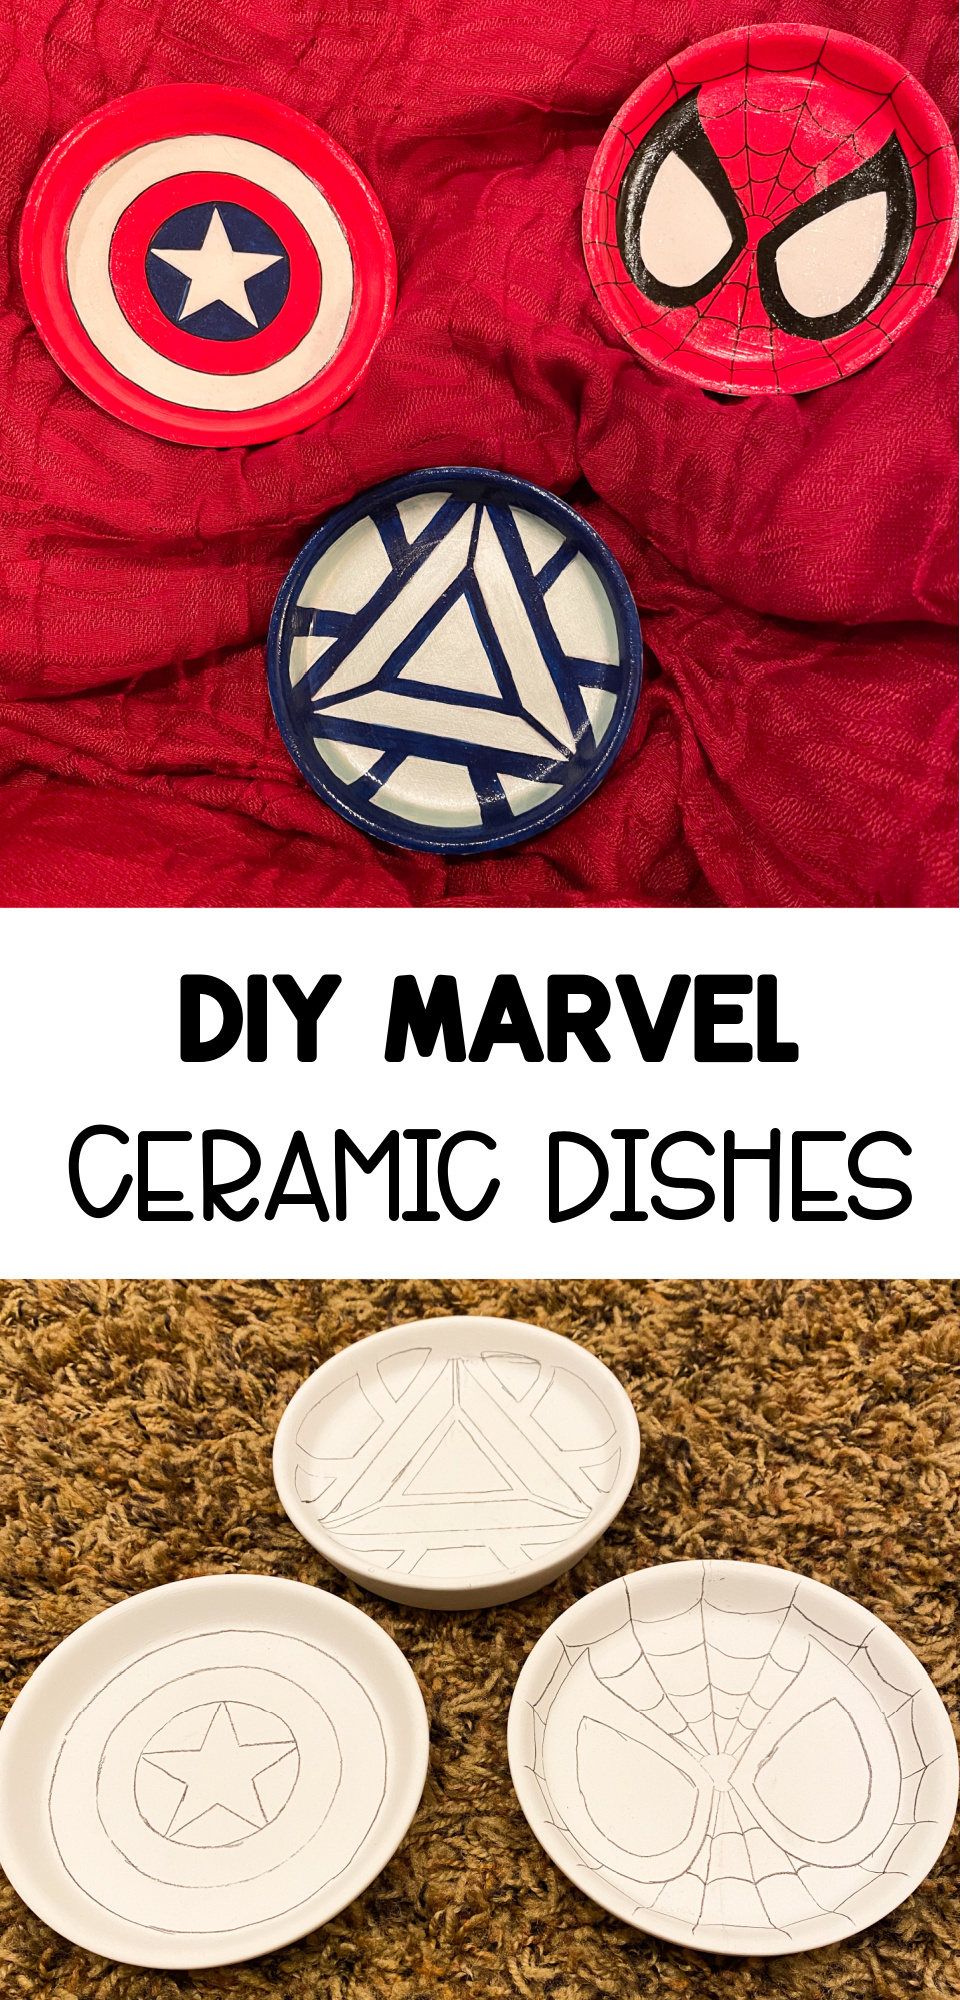
DIY Marvel Ceramic Dishes
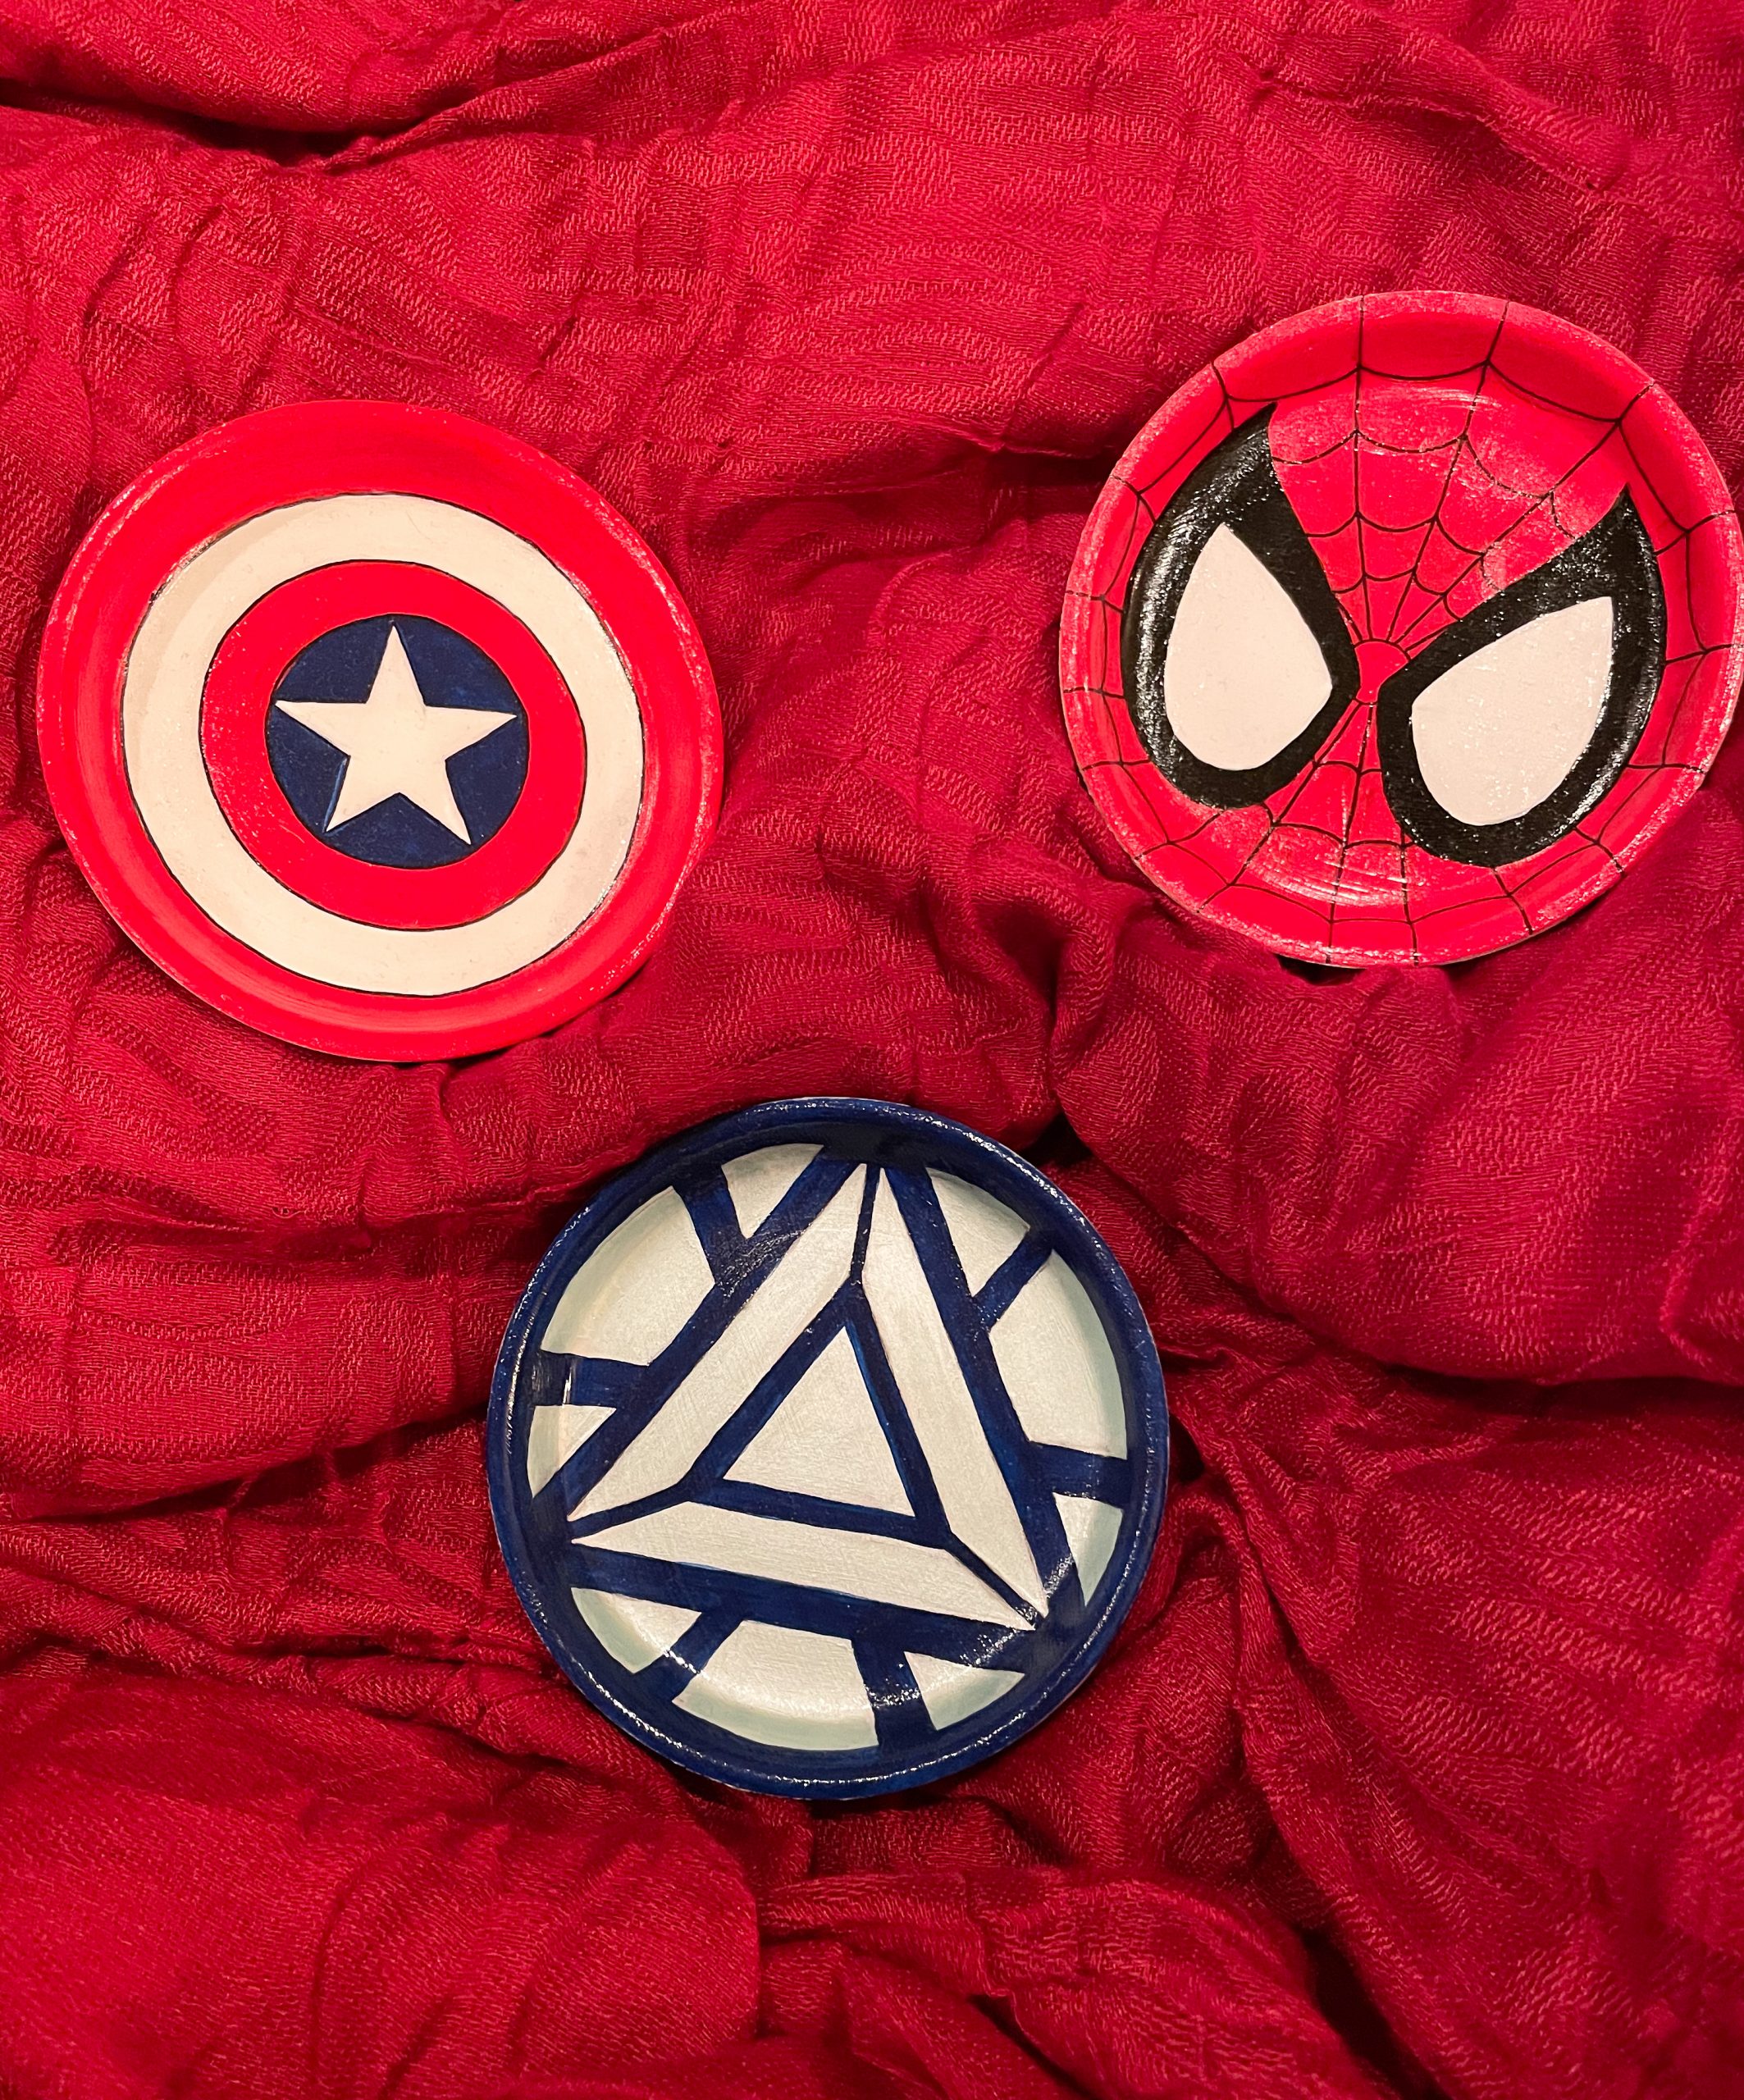
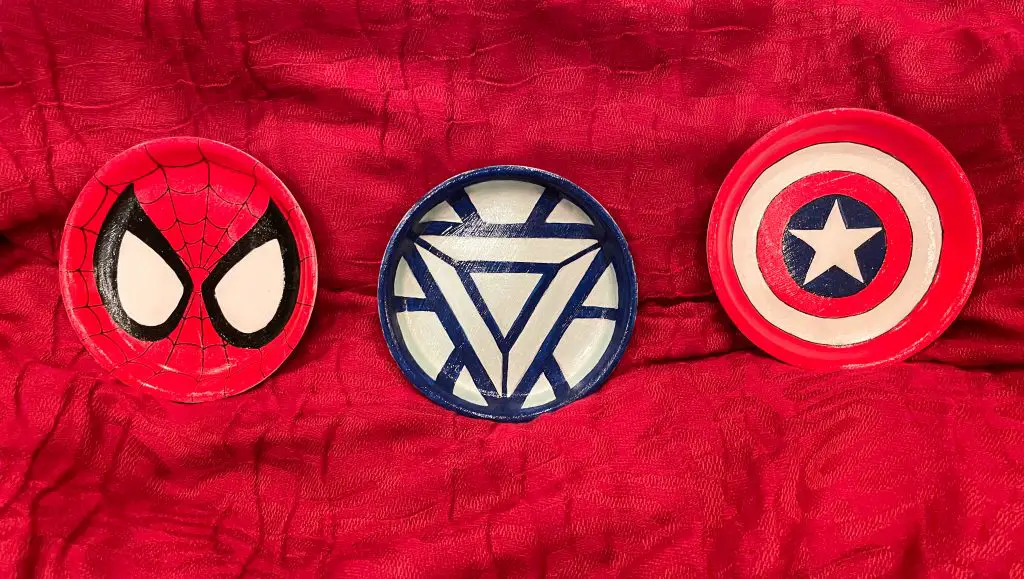
Calling all Marvel fans! These easy DIY Marvel-themed ceramic plates are easy, inexpensive, and fun to make!
Marvel has certainly become a household name – over the last few years especially. And undoubtedly, people have their favorite characters from the Marvel Cinematic Universe.
So I thought, why not bring some of our favorite characters into a useful item that we can find in one of people’s favorite stores – Target.
I don’t know about you, but I am always losing little things like keys, bobby pins, and necklaces because I have nowhere to put them.
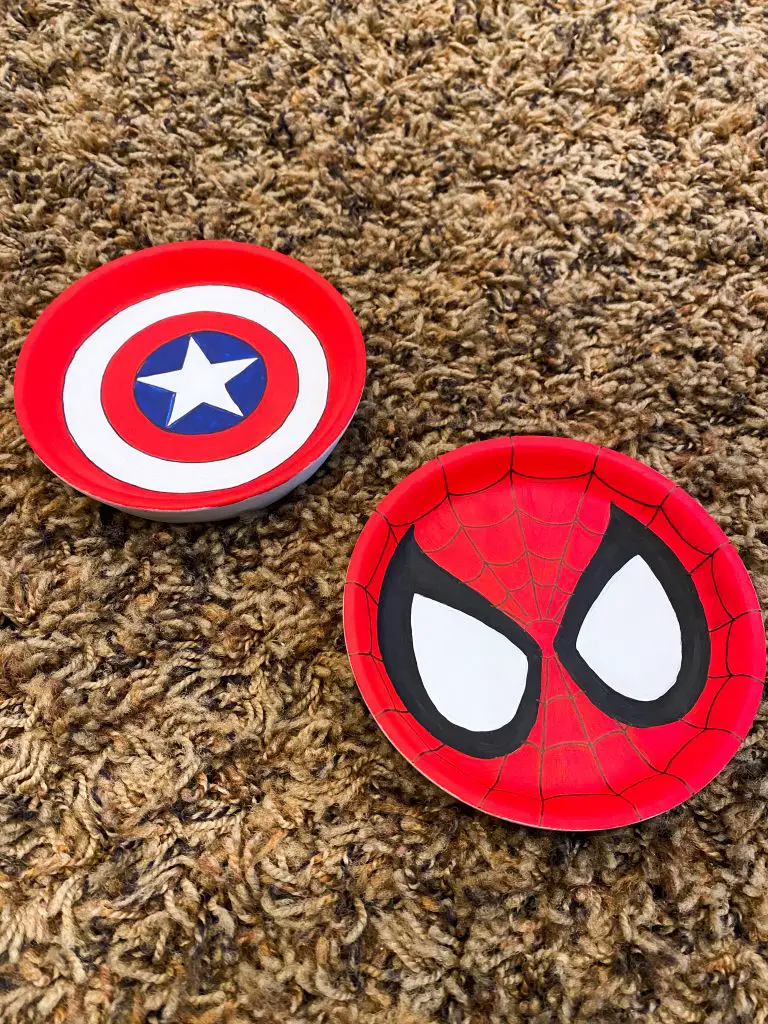
With this project, I brought some of my favorite characters into the solution. I found these little white dishes at Target in the dollar section, but any little ceramic dish would work for this craft.
Where can I find ceramic dishes?
Ceramic dishes are fairly easy to come by, but the trick is finding a dish that is unglazed. If it is already glazed, the paint has a harder time sticking to the dish.
These dishes were found in the dollar section at Target, but they tend to sell out rather quickly.
You can also find unglazed pottery and dishes in craft sections of most grocery stores or craft stores like Michael’s, Joann, or Hobby Lobby.
What kind of paints should I use?
I just used simple acrylic paints that can be purchased for about $1 at most stores like Walmart or Target.
You can also find acrylic paints at craft stores similar to those listed above.
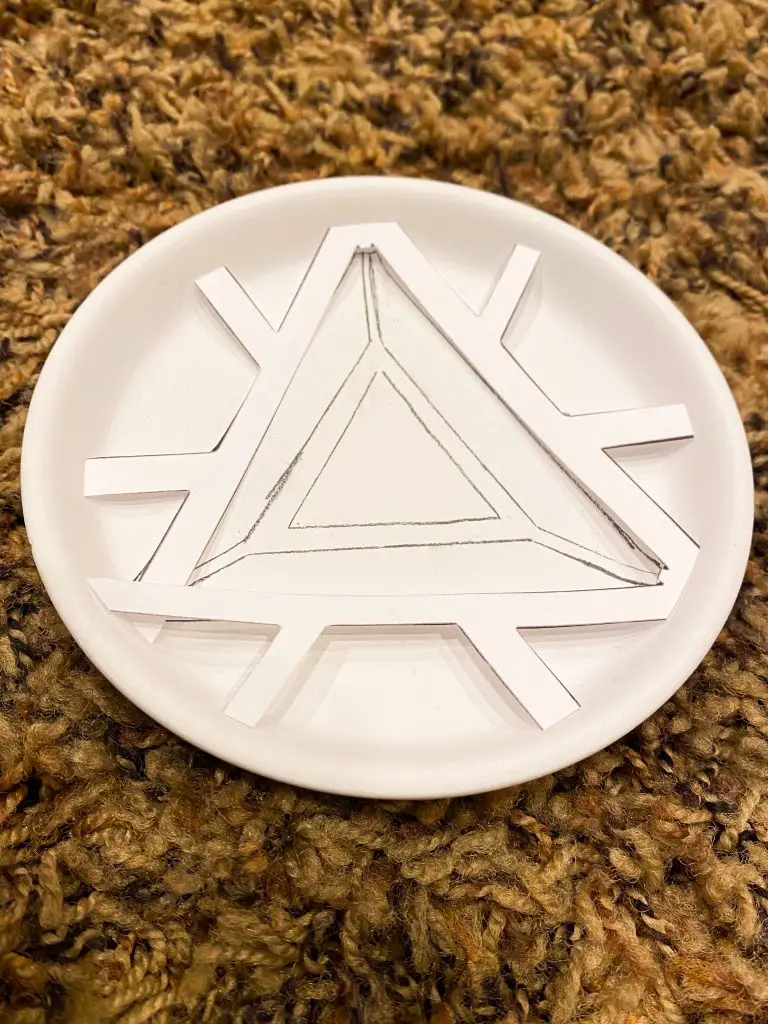
How big should my stencil be?
It depends on how big your dish is. You want the stencil to be the same size as your dish, so it is easy to trace.
My ceramic dishes were 4 inches from edge to edge. However, if you just wanted to do the bottom of the dish and not bring the design all the way up, you could just measure the bottom surface area and go off of that.
What kind of glaze or seal should I use?
If you have experience with a certain type of glaze or finishing seal, feel free to use that.
I used Mod Podge because it is very user friendly and easy to work with. It doesn’t take much to give the project a good, finished look.
It can be a little scary looking when you first put it on because it goes on with a white color, similar to Elmer’s glue. But never fear! It always dries clear, no matter how much you put on.
How to Make Your Own Marvel Ceramic Dishes
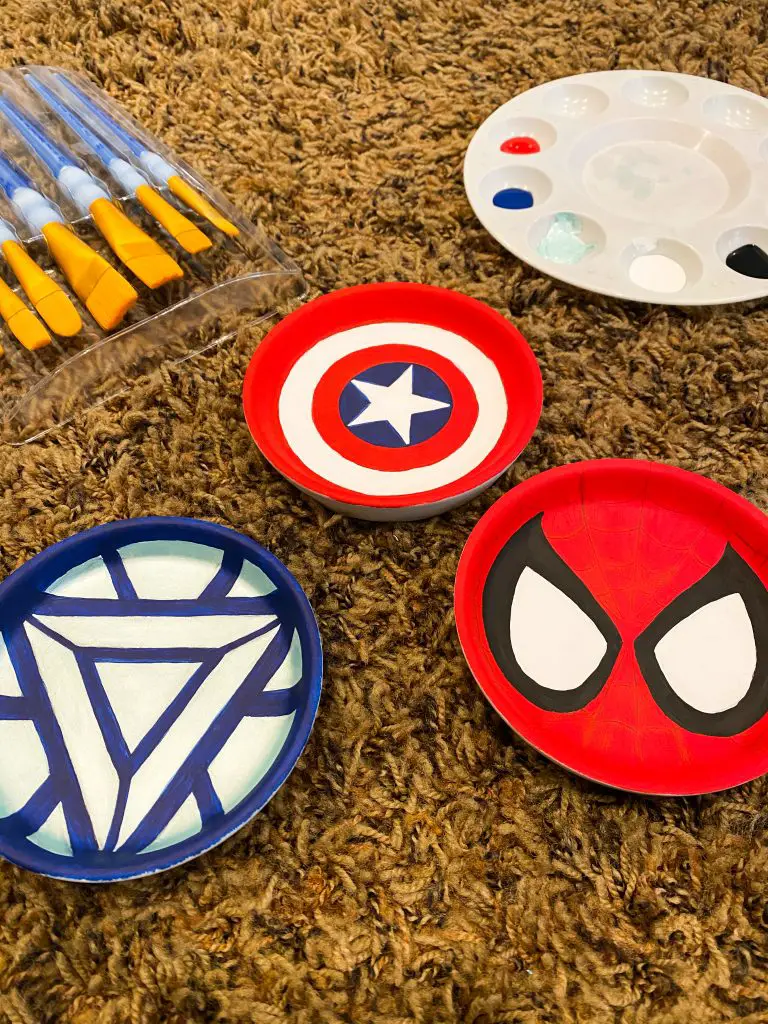
Here’s what you’ll need:
- White ceramic dishes
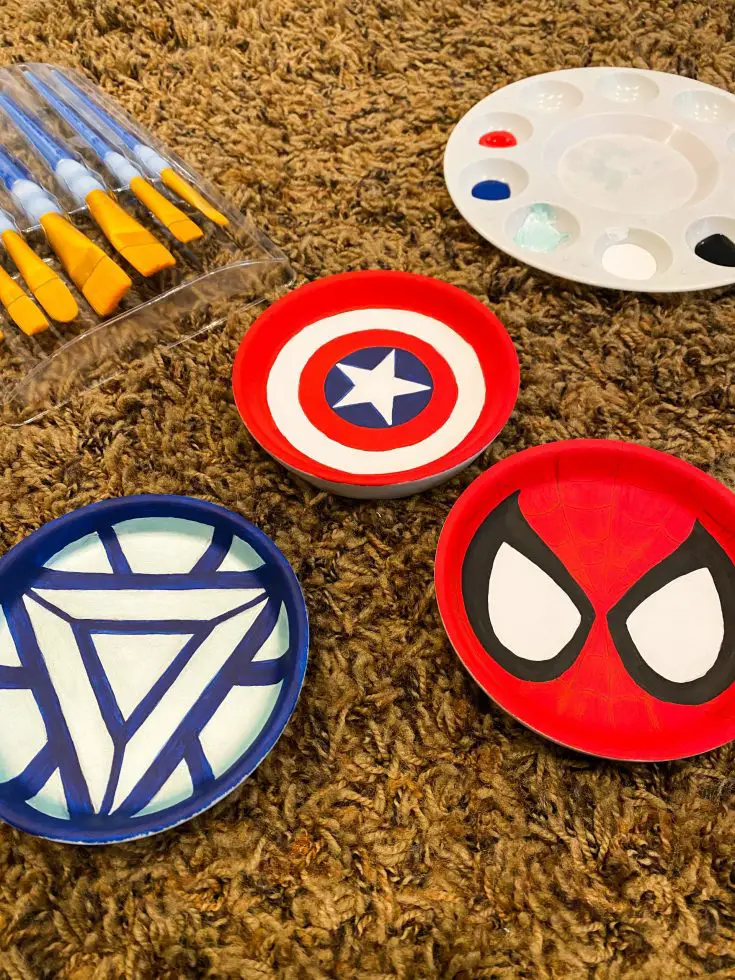
- Acrylic Paints in your desired colors
- Paintbrushes
- Mod Podge
- Pencil
- Thin-tipped Sharpie
- Printed Stencil
Instructions
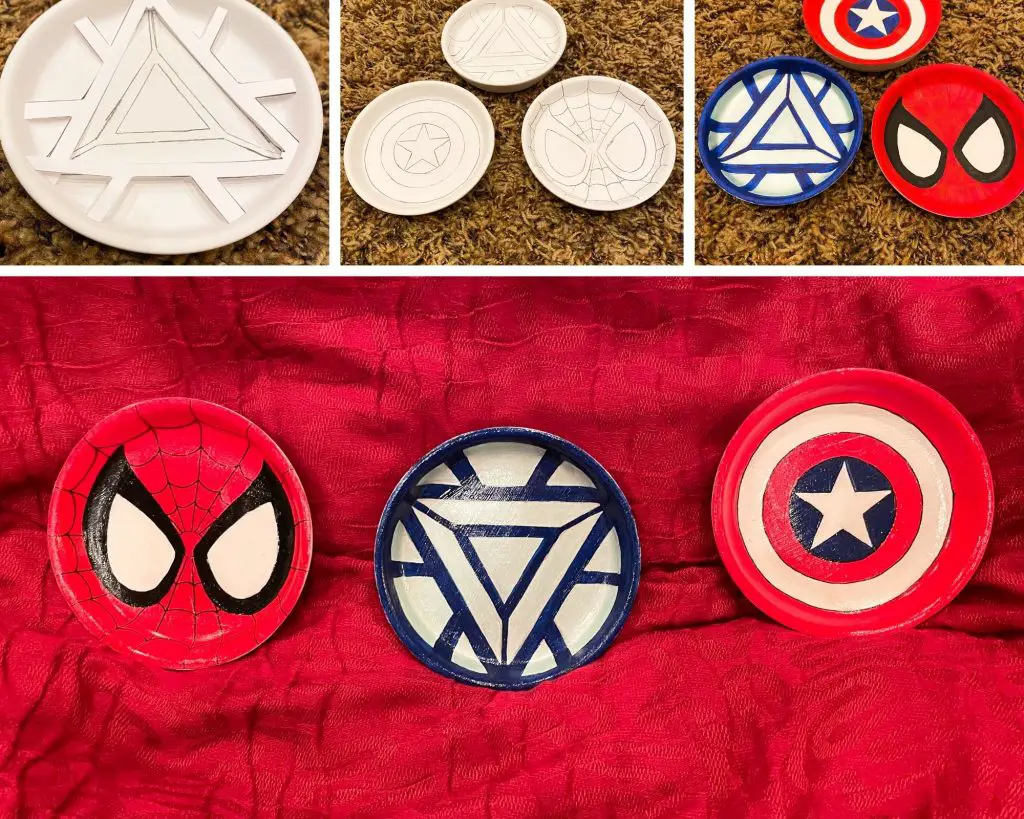
- Print the stencils you want according to the dimension of the ceramic dish.
- Cut out the template sections to trace
- Trace the template sections with a white pencil. These can be a little messy because you will be painting over them, it just might take a few layers of paint.
- When you are happy with the design on your dish, break out those paintbrushes and start with one color at a time. You want to make sure each color has time to dry before you start the next color or layer to avoid the paint bleeding together.
- When you have finished each color, you can decide whether you want another layer of paint and add any finishing touches you would like to at this time.
- If there are any lines that are too thin to paint, take the thin-tipped Sharpie and go over them for a more clean look.
- Allow the paint and Sharpie to dry for at least 2-3 hours.
- Take a paintbrush and paint on Mod Podge in smooth, even strokes.
- Allow Mod Podge to dry for 1-3 hours. A warmer room temperature will result in faster drying time.
DIY Marvel Ceramic Dishes
Marvel has certainly become a household name - over the last few years especially. And undoubtedly, people have their favorite characters from the Marvel Cinematic Universe.
So I thought, why not bring some of our favorite characters to life in these fun ceramic dishes.
Materials
- White ceramic dishes
- Acrylic Paints in your desired colors
- Paintbrushes
- Mod Podge
- Pencil
- Thin-tipped Sharpie
- Printed Stencil
Tools
- Paint Brushes
- Paint
- Ceramic Dishes
Instructions
1. Print the stencils you want according to the dimension of the ceramic dish.
2. Cut out the template sections to trace
3. Trace the template sections with a white pencil. These can be a little messy because you will be painting over them, it just might take a few layers of paint.
4. When you are happy with the design on your dish, break out those paintbrushes and start with one color at a time. You want to make sure each color has time to dry before you start the next color or layer to avoid the paint bleeding together.
5. When you have finished each color, you can decide whether you want another layer of paint and add any finishing touches you would like to at this time.
6. If there are any lines that are too thin to paint, take the thin-tipped Sharpie and go over them for a more clean look.
7. Allow the paint and Sharpie to dry for at least 2-3 hours.
8. Take a paintbrush and paint on Mod Podge in smooth, even strokes.
9. Allow Mod Podge to dry for 1-3 hours. A warmer room temperature will result in faster drying time.
Other Fun Crafts You Might Enjoy
No matter what shape or size of dish you choose or what superhero or character you decide on, these dishes are sure to bring a smile to your face by bringing your favorite characters into this DIY project.